Tutorial: Enhancing Photos with Gradient Mapping
Some Day
Tutorial
tags
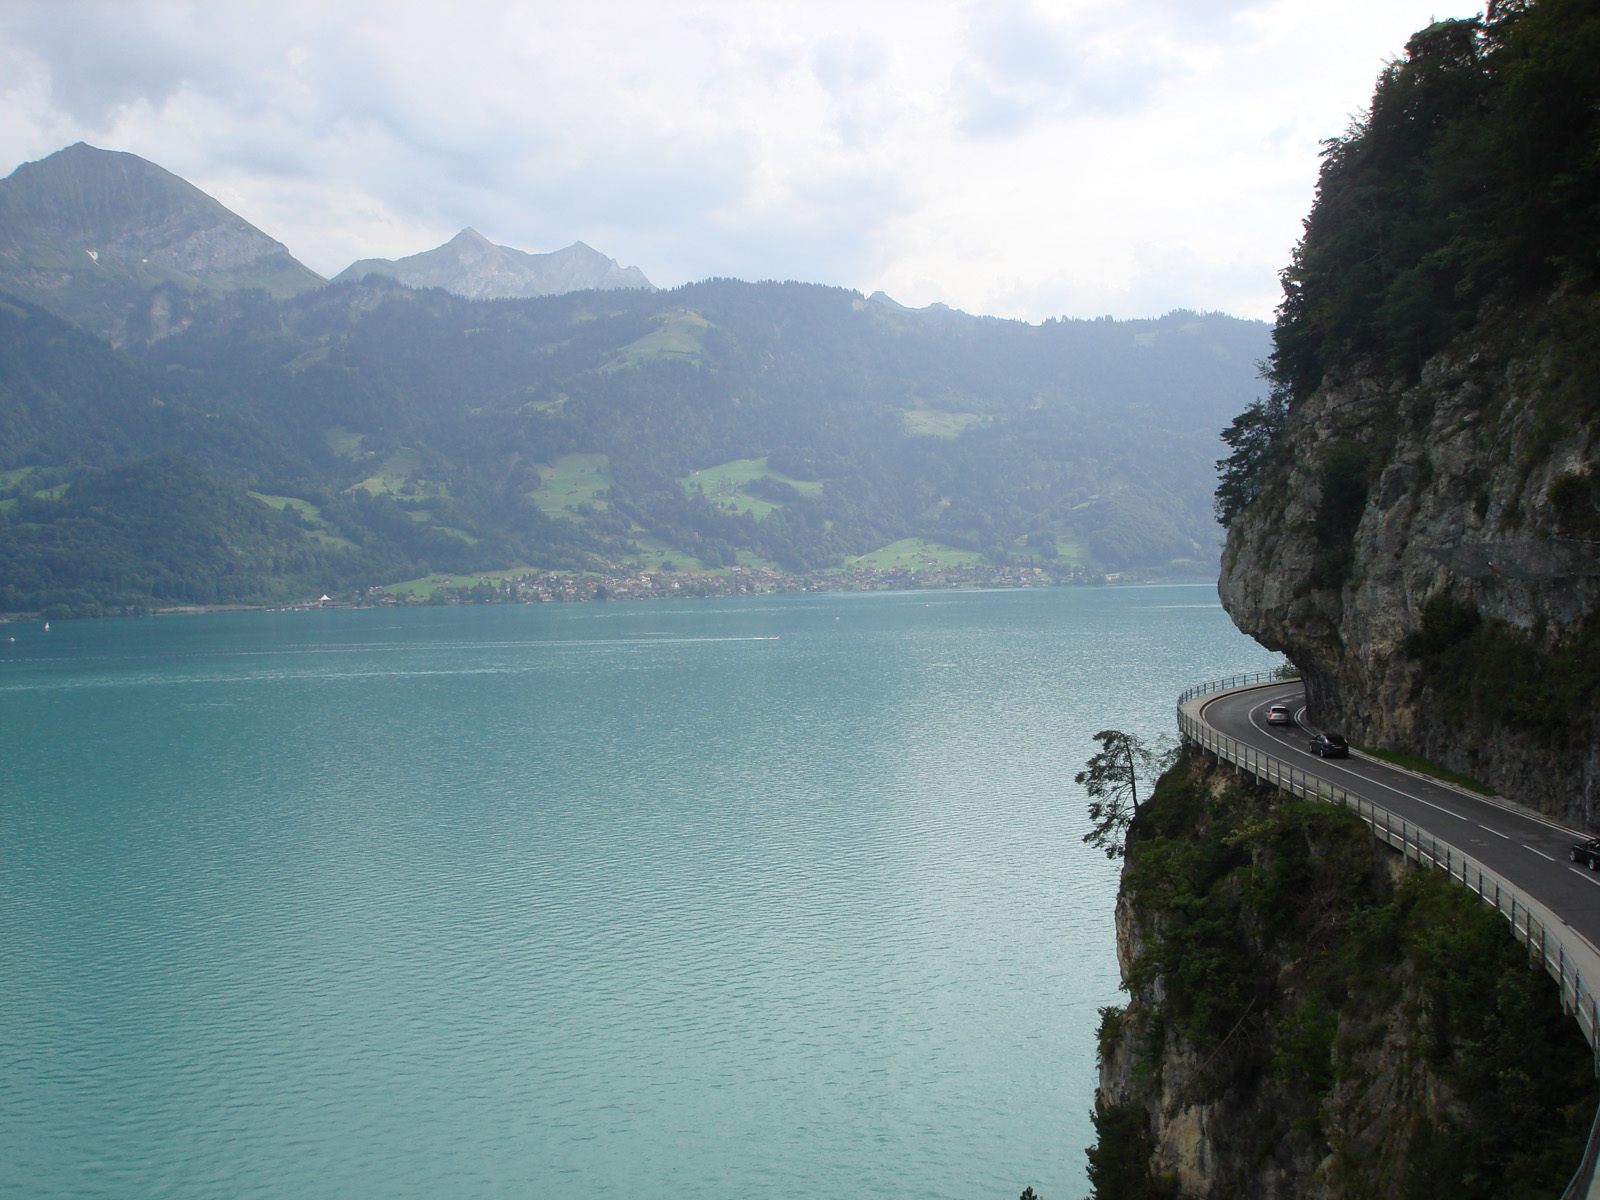
Check out the large version here.
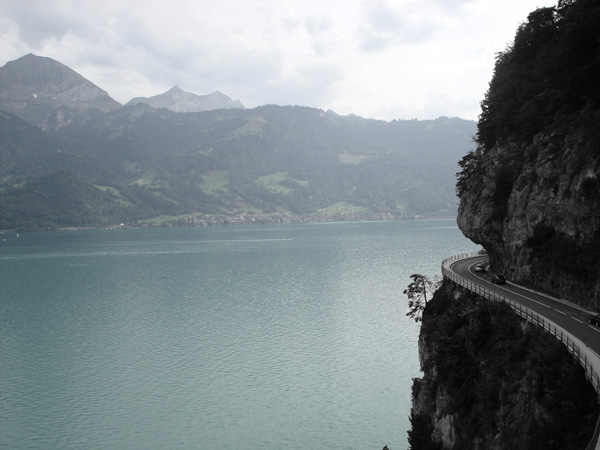
We’ve all been there, well – the more photographic ones. You have a great photo, images, graphic – but it just isn’t dynamic enough. You might want to enhance the subject, or change the background. I was in that very same scenario, loving this photo I took on holiday, but it just needed some magic. So I had a go at my own enhancing and it came out decently.
The tools you’ll need for this tutorial are Photoshop, a nice photo and 5 minutes. For the purposes of this tutorial, it would be best if you used the image I did, which can be found here. Firstly open up the image in Photoshop.

It will have come up as a background, but since I like the ability to move things around we’ll change it into a layer – you do this by right clicking the layer called “Background” under the “Layers” tab, usually located on the right of window. From the drop down menu select “Layer from Background”.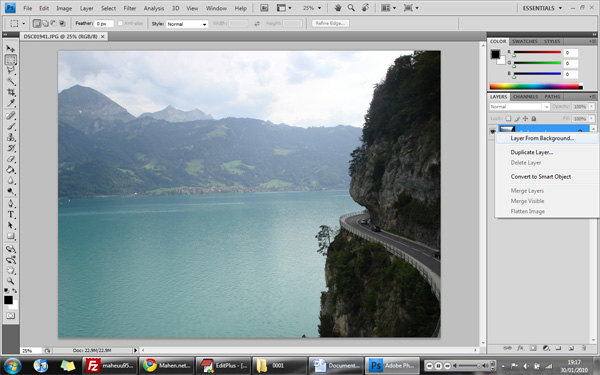
A window shall pop up, just press OK and your background shall be made into a layer. The new layer will be called, by default, “Layer 0”.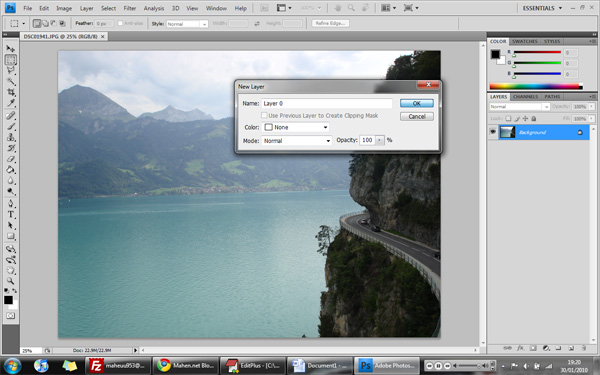
Now duplicate the layer, you do this by right clicking on the layer, and selecting “Duplicate Layer”. This layer will by default be called “Layer 0 copy”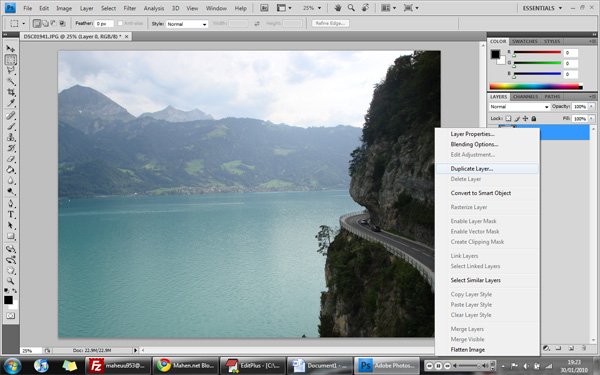
A window shall pop up, just press OK and your layer shall be duplicated.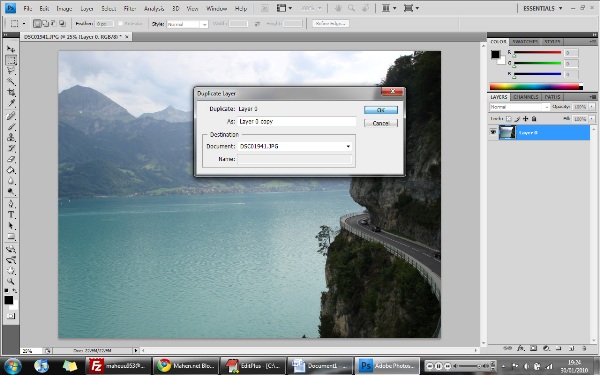
Now we get to the real stuff. While the layer called “Layer 0 copy” is selected, go to the menu bar > Image > Adjustments > Gradient Map. 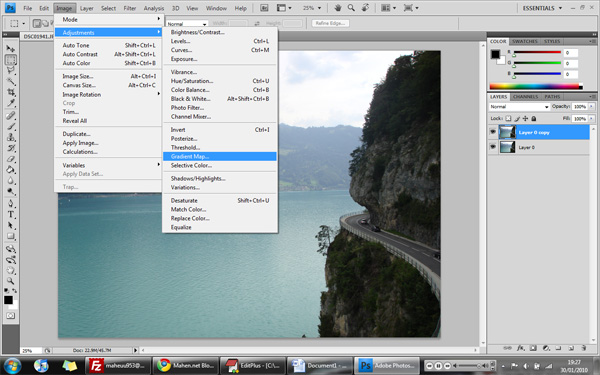
A window shall appear, with a gradient. It should be a gradient from black (on the left) to white (on the right). Press OK and the effect shall be applied. 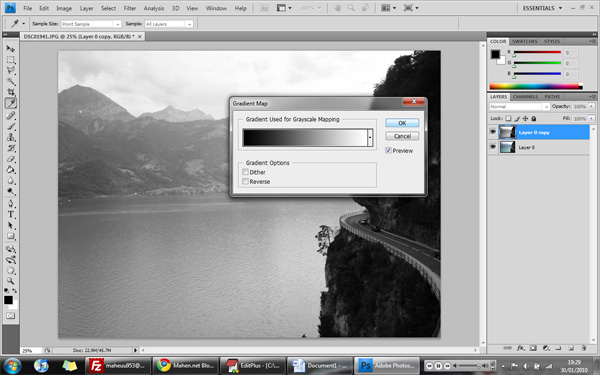
Select the area which isn’t the main object – which in this case is mountains and sea because the main object is the rocky protrusion on the right of the image. Do this through whatever method you are comfortable with. Personally I prefer to use the “Magic Wand” tool, located on the left of the window. 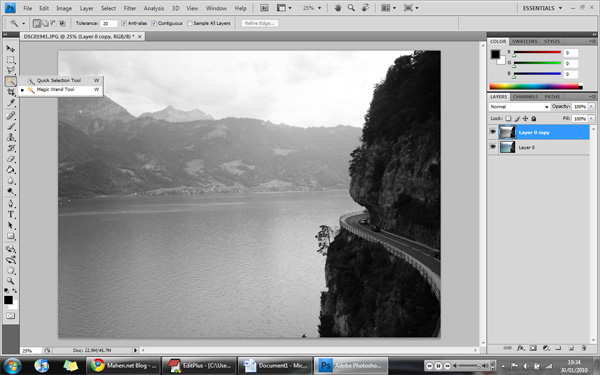

After doing this, delete the select region leave only the rocky protrusion on the right, this will allow the image behind it – the fully coloured original layer – to be seen. 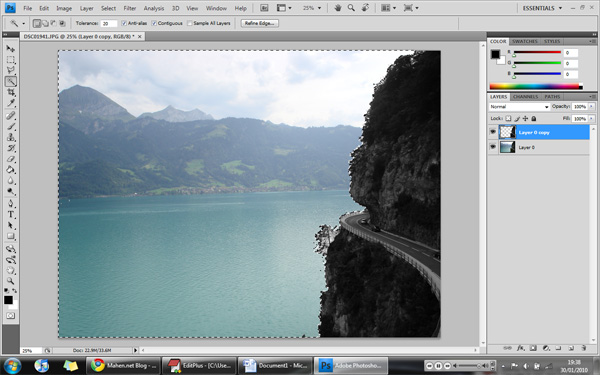
And there you have it, the subject has been enhanced. If you want to make the image more consistent, you could reduce the saturation on the rear layer – you do this by going to the menu bar > Images > Adjustments > Hue/Saturation. 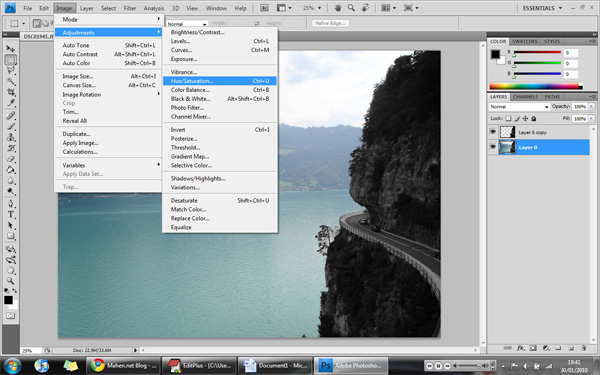
A window shall appear, with three slide bars. The middle one is saturation – slide the bar so that the figure becomes a minus number. You should play around with it until you find an effect you like, but that is all for now. Hoped you gained something from this tutorial, and this is my first tutorial so if you have suggestions please send them in to suggestions@mahen.net. A comments area shall be coming in soon, so you guys won’t need to do e-mail soon. But till then, the old (well, it is now) method of e-mail shall suffice.